How to Upload Html File to Google Domain
Having HTML verification is probably 1 of the nuts and the most of import requirements to open a Shopify store. Y'all volition demand to upload the HTML file when rooting the directory of your Shopify shop for verification. But many of united states don't know how to upload HTML verification file to Shopify.
Basically, HTML stands for HyperText Markup language and it is essential to create whatsoever kind of web page as the standard markup language. Then, for Shopify, information technology is a must-take. And today, nosotros volition deeply explore almost everything about uploading the HTML verification file to Shopify.
Why Verification of Your Shopify Store with HTML is essential?
You lot must be thinking that nosotros are supposed to talk about the uploading procedure of HTML files to Shopify. Merely why do we offset with the necessity of verification of Shopify, correct? Well, if you are a beginner, you need to know that HTML is essential to verify your Shopify with Google.
While editing the theme lawmaking of your Shopify store, yous need to add the HTML meta tag so that the Google search console tin verify your Shopify store. And when you will have the verification in the Google Search console, your shop will take more visibility so, more clients.
Patently, the verification in the Google Search console is a kind of procedure that you have to provide Google and then that it will exist acknowledged about your own store of the domain. It will and then provide you admission to the search information of Google. And so, the data you will go tin can be used in growing the traffic of your site.
And then, the bones thing is to add together the HTML meta tag to your Shopify theme to aid Google verify your domain. For that, y'all can either upload the HTML file on the theme or but add a DNS record while registering for the domain. Simply uploading the HTML file is easier and the nearly suggested fashion.
Steps to Access and Edit HTML Files in Shopify
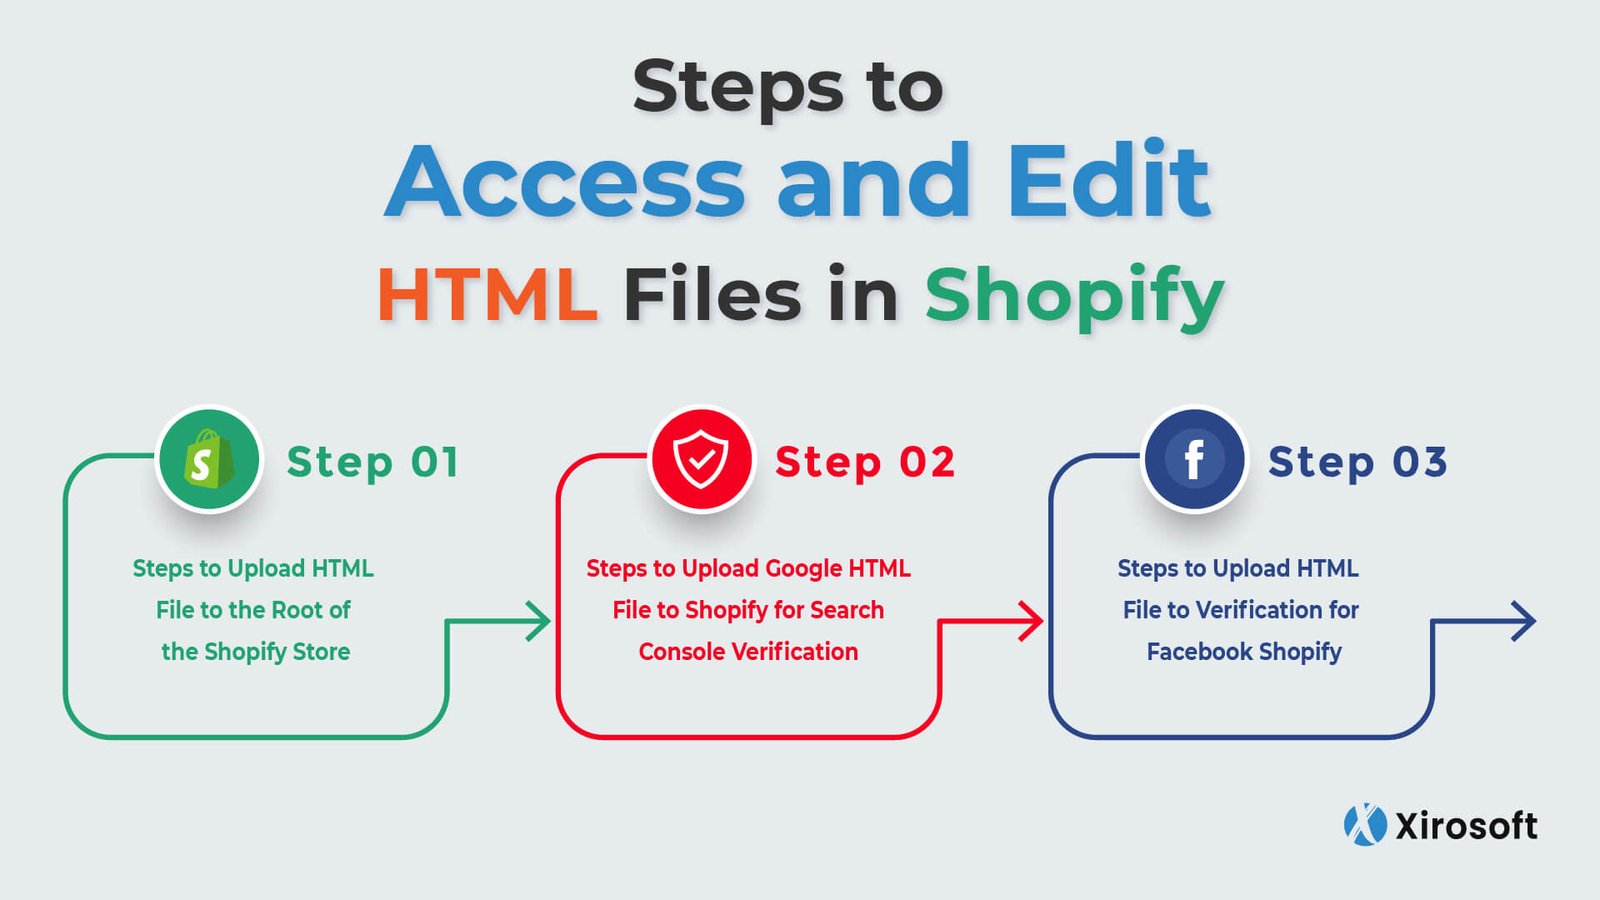
Before y'all outset learning the way to upload or add HTML files to the Shopify theme, you lot demand to acquire the way of editing the file in Shopify. It ways the way, yous will get the file, having the access to it, and finally, edit information technology to prepare it for uploading.
The process of editing and having access to the HTML file is not anything complicated. Some easy steps are enough to get in anyway. And here, I will briefly and just demonstrate the manner that is about constructive and suggestive.
Basically, all the HTML files for whatsoever Shopify store are liquid files. Y'all won't get the actual files as it has to add together in the theme only. However, yous can simply access or edit the HTML file according to the type of your Shopify store. The post-obit infinite on the theme will provide the files and you can choose the advisable ane for your store.
- You need to visit the theme. liquid where you can edit the header and footer of the file.
- To get the reusable code snippets, you lot take to visit the snippets. liquid section.
- Yous will find all the liquid files in the templates. And you have to notice the exact files for different templates as well.
- Section. the liquid is some other place where you lot can observe the files that are basically used on all the pages including the homepage.
All the files here are editable and you can make any change you prefer. Simply you have to remember that these files are used on multiple pages. Then, if you brand a particular alter for a specific page, the file for other pages will be inverse automatically.
Steps to Upload Google HTML File to Shopify for Search Console Verification
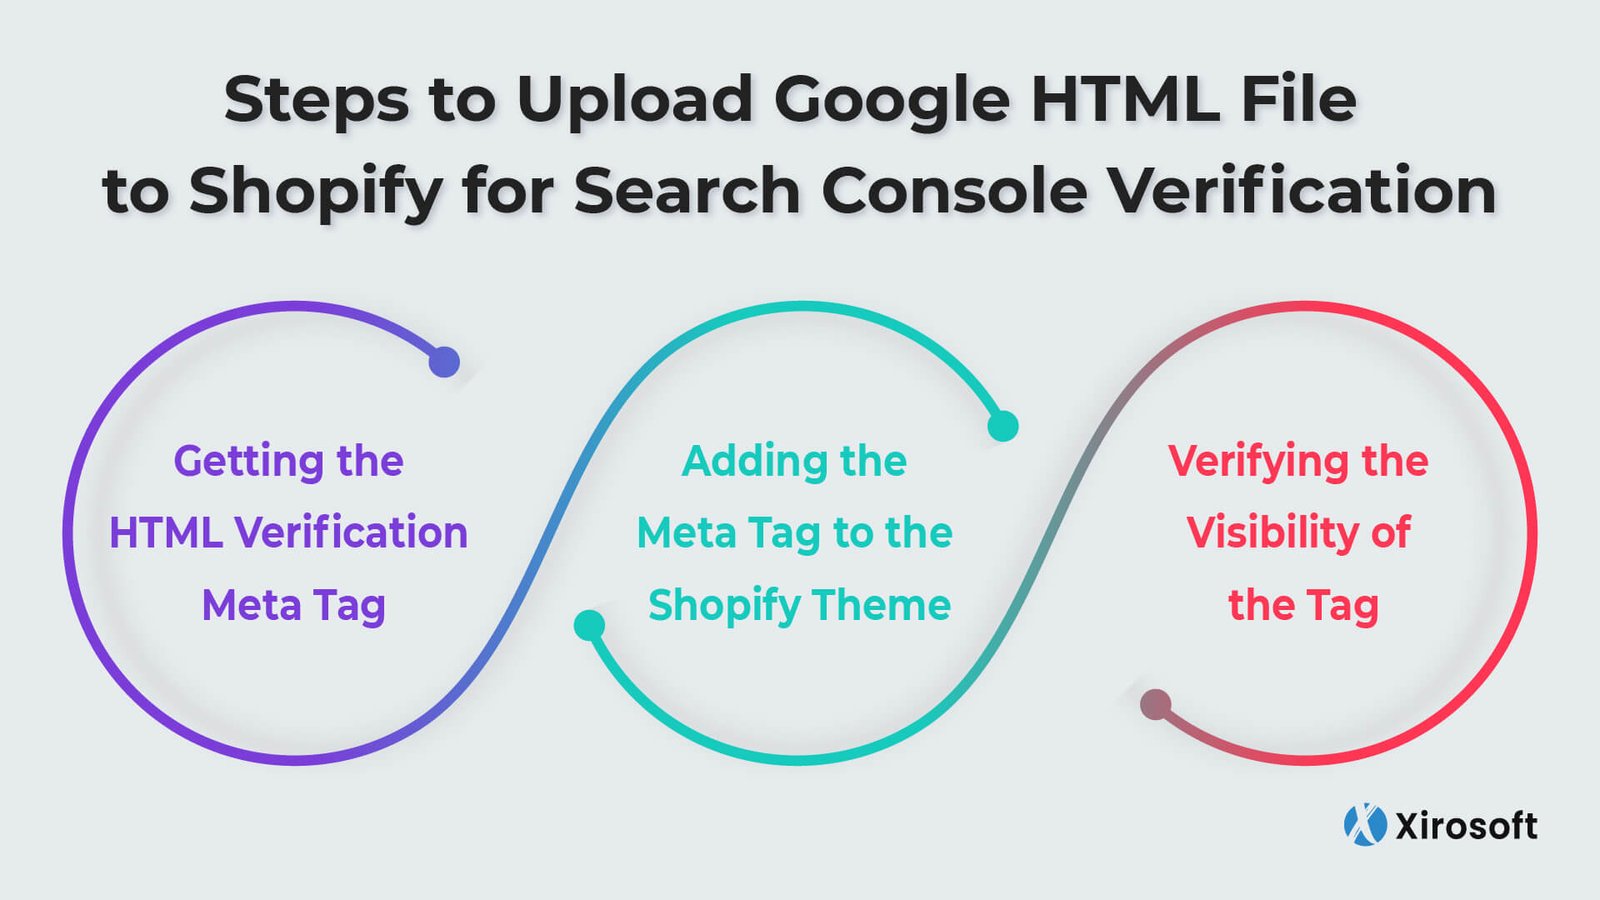
Information technology is needless to say that uploading the Google verification HTML file to Shopify for Google search console is easy and simple to empathise. Somewhen, you volition realize it in one case you check out the basic 3 steps below. You demand to go through iii like shooting fish in a barrel steps and each of them requires some tasks. Not skipping ane word, check the details with proper concentration. Yous will easily empathize the process.
Footstep 1: Getting the HTML Verification Meta Tag
The start and foremost footstep is to collect the meta tag that you lot volition apply to upload. For that, yous volition have to log into the Google Search Panel account. If yous don't take an account, you can make full the requirements and open i by yourself.
On the homepage of the Google Search Panel, you will find an option calling Verify Ownership. At that place volition be two options to verify your site. The first 1 is the HTML file and the 2d ane is the HTML tag. And y'all have to go through the HTML tag.
Basically, the outset option, I mean the HTML file is there just as an alternative method section. And you can completely ignore information technology to avoid extra efforts. Withal, you accept to check every word of the HTML tag selection. Do you get a link abreast a button to copy? You lot must find it correct under point number 1 that will ask you to copy the meta tag.
And then, click on the copy button and y'all volition get the tag copied to the clipboard. Now, you are gear up to add the tag to the Shopify theme to complete the second step.
Stride ii: Adding the Meta Tag to the Shopify Theme
You can go out the Google Search console tab after you lot copy the tag from it. And at present, you have to log into your Shopify account. On the homepage, you will go the Admin tab pick. Click on it.
On the admin tab, you will get the online shop option right in the middle part of the left side option bar. Click on the offline store and the first option y'all will get will exist the Themes. Open it.
Make sure that you have chosen the current theme id your Shopify store. On the right side of the upper part, you volition observe a push button called Activeness. Click it and select the Edit code option.
At that place, y'all will find the Layout section. The Layout section will initially have different options well-nigh liquid elements. Y'all have to choose the theme. liquid file. Now, select this file to open the lawmaking editor. If you fail to find this role, just utilize the search bar and type the theme. liquid.
On this page, you lot volition get an option <head> and paste the tag under it. Check twice that you accept pasted the complete tag that you lot got on the Google Search console. Now, save it. The tag is added successfully.
Step iii: Verifying the Visibility of the Tag
Now, it'southward about verifying that Google has been recognizing the HTML tag of your Shopify store properly. And information technology's the terminal footstep for this job. Well, you take to log into the Google Search console account once again.
Here, you accept to wait for a few minutes to complete the verification. You volition find all the collected data about your domain on this folio after the verification. And it will verify automatically after you have done the second step completely.
So, this is how like shooting fish in a barrel adding the meta tag of HTML to your Shopify store for verification of the Google search console. Simply there are ii more places where you demand to upload the file as well. If you desire to learn about that, just follow the next two sectors also.
Steps to Upload HTML File to the Root of the Shopify Store

Another essential utilise of the HTML file is to root the directory of your Shopify store for different third-political party site access. All of the 3rd-party sites will ask you to make sure that you lot are the legal possessor of the Shopify store. You can call it a security effect.
So, you have to ensure strong password protection for your site. Besides, if you still have non verified your site, you need to disable the countersign, and when you will accept the verification, you lot can activate the countersign again.
Yet, to upload the HTML lawmaking to your Shopify shop for domain verification, you can follow the below steps.
- Enter into the tertiary-political party panel and cull the selection that will verify the use of the meta tag method verification.
- The meta tag you will find hither is the one you have to copy. Make sure to copy the complete tag to your clipboard.
- At present, log into the Shopify app and find the store selection. Here, yous will become the select channel option. Click it.
- Yous will get the Online store and just under it, there will be the manage themes section. Choose the theme that you desire to edit. And get the edit lawmaking in the selection called Action.
- Once again type theme. liquid on the search bar and open it in the code editor. Hither, you can paste the meta tag and verified
Lastly, press the save button. And now, the HTML lawmaking is uploaded to the Shopify store for domain verification.
Steps to Upload HTML File to Verification for Facebook Shopify

Among all the tertiary-party sites, Facebook is the near important one to add together the HTML code and verify your Shopify store. And the following steps will show you how to upload HTML files for the Shopify verification to Facebook.
- Offset, you have to cull the appropriate meta tag verification method. For that, you accept to log into the Facebook Business Manager. Discover the Business organisation Setting and and so Make Rubber. Once yous click on it, open the Domain option where you can add together the URL. This is the URL you have to verify.
- Hither, you will go another meta tag that you have to copy completely.
- Again, log into the Shopify admin panel and observe the Online Shop section. You volition find Themes right here. Open up information technology and adjust the Action and Edit the code.
- In the Edit lawmaking option, you will detect the Layout section. At that place, you will get the themes. liquid. Open it in the online lawmaking editor and detect the <header> option.
- Right under the choice, you have to paste the consummate meta tag. Finally, save it to verify the HTML tag.
So, this is how easy to upload the HTML file to verify Shopify to Facebook. And since the file or tag is verified, your Facebook Marketing will get more engagement and traffic.
To Conclude
So, this is how easy information technology is to upload an HTML verification file to Shopify. And once the HTML file is verified, you volition go more traffic and so, more customers. Additionally, you will go access to the search data of Google that volition permit you lot to find keywords and their ranking and optimization process. And so, here, we take our get out for today and volition soon come with something new.
cunninghamyoubtand.blogspot.com
Source: https://xirosoft.com/upload-html-verification-file-shopify/
0 Response to "How to Upload Html File to Google Domain"
Enviar um comentário